

Desktop users
Comfy Desktop installs ComfyUI-Manager with every ComfyUI installation and starts it with--enable-manager, so there is nothing for you to install. Manager is configured per installation from inside the app:
1
Open the Manage panel for the installation
In Comfy Desktop, open the installation and go to the Manage panel, then switch to the Startup Args tab.
2
Set the Manager options
- Manager Security Level decides which node packs Manager may install: Strict, Standard (recommended), Relaxed, or Permissive. Stricter levels matter most when ComfyUI is exposed to your network with
--listen - Manager Network Mode decides how Manager reaches the node registry: Public (default), Private, Offline, or Personal cloud (only for a machine you control)
3
Change the flags Manager starts with (optional)
Startup Arguments on the same tab controls the flags the installation launches with. Remove
--enable-manager to run ComfyUI without Manager, or keep it and add --disable-manager-ui to hide the Manager UI while its background tasks continue.Portable users
For users running the Windows Portable version, the new ComfyUI-Manager is built into ComfyUI core but needs to be enabled.-
Install the manager dependencies:
-
Launch ComfyUI with the manager enabled:
Manual install users
For users with a manual installation, the new ComfyUI-Manager is built into ComfyUI core but needs to be enabled.-
Activate your virtual environment:
-
Install the manager dependencies:
-
Enable the manager with the
--enable-managerflag when running ComfyUI:
Command line options
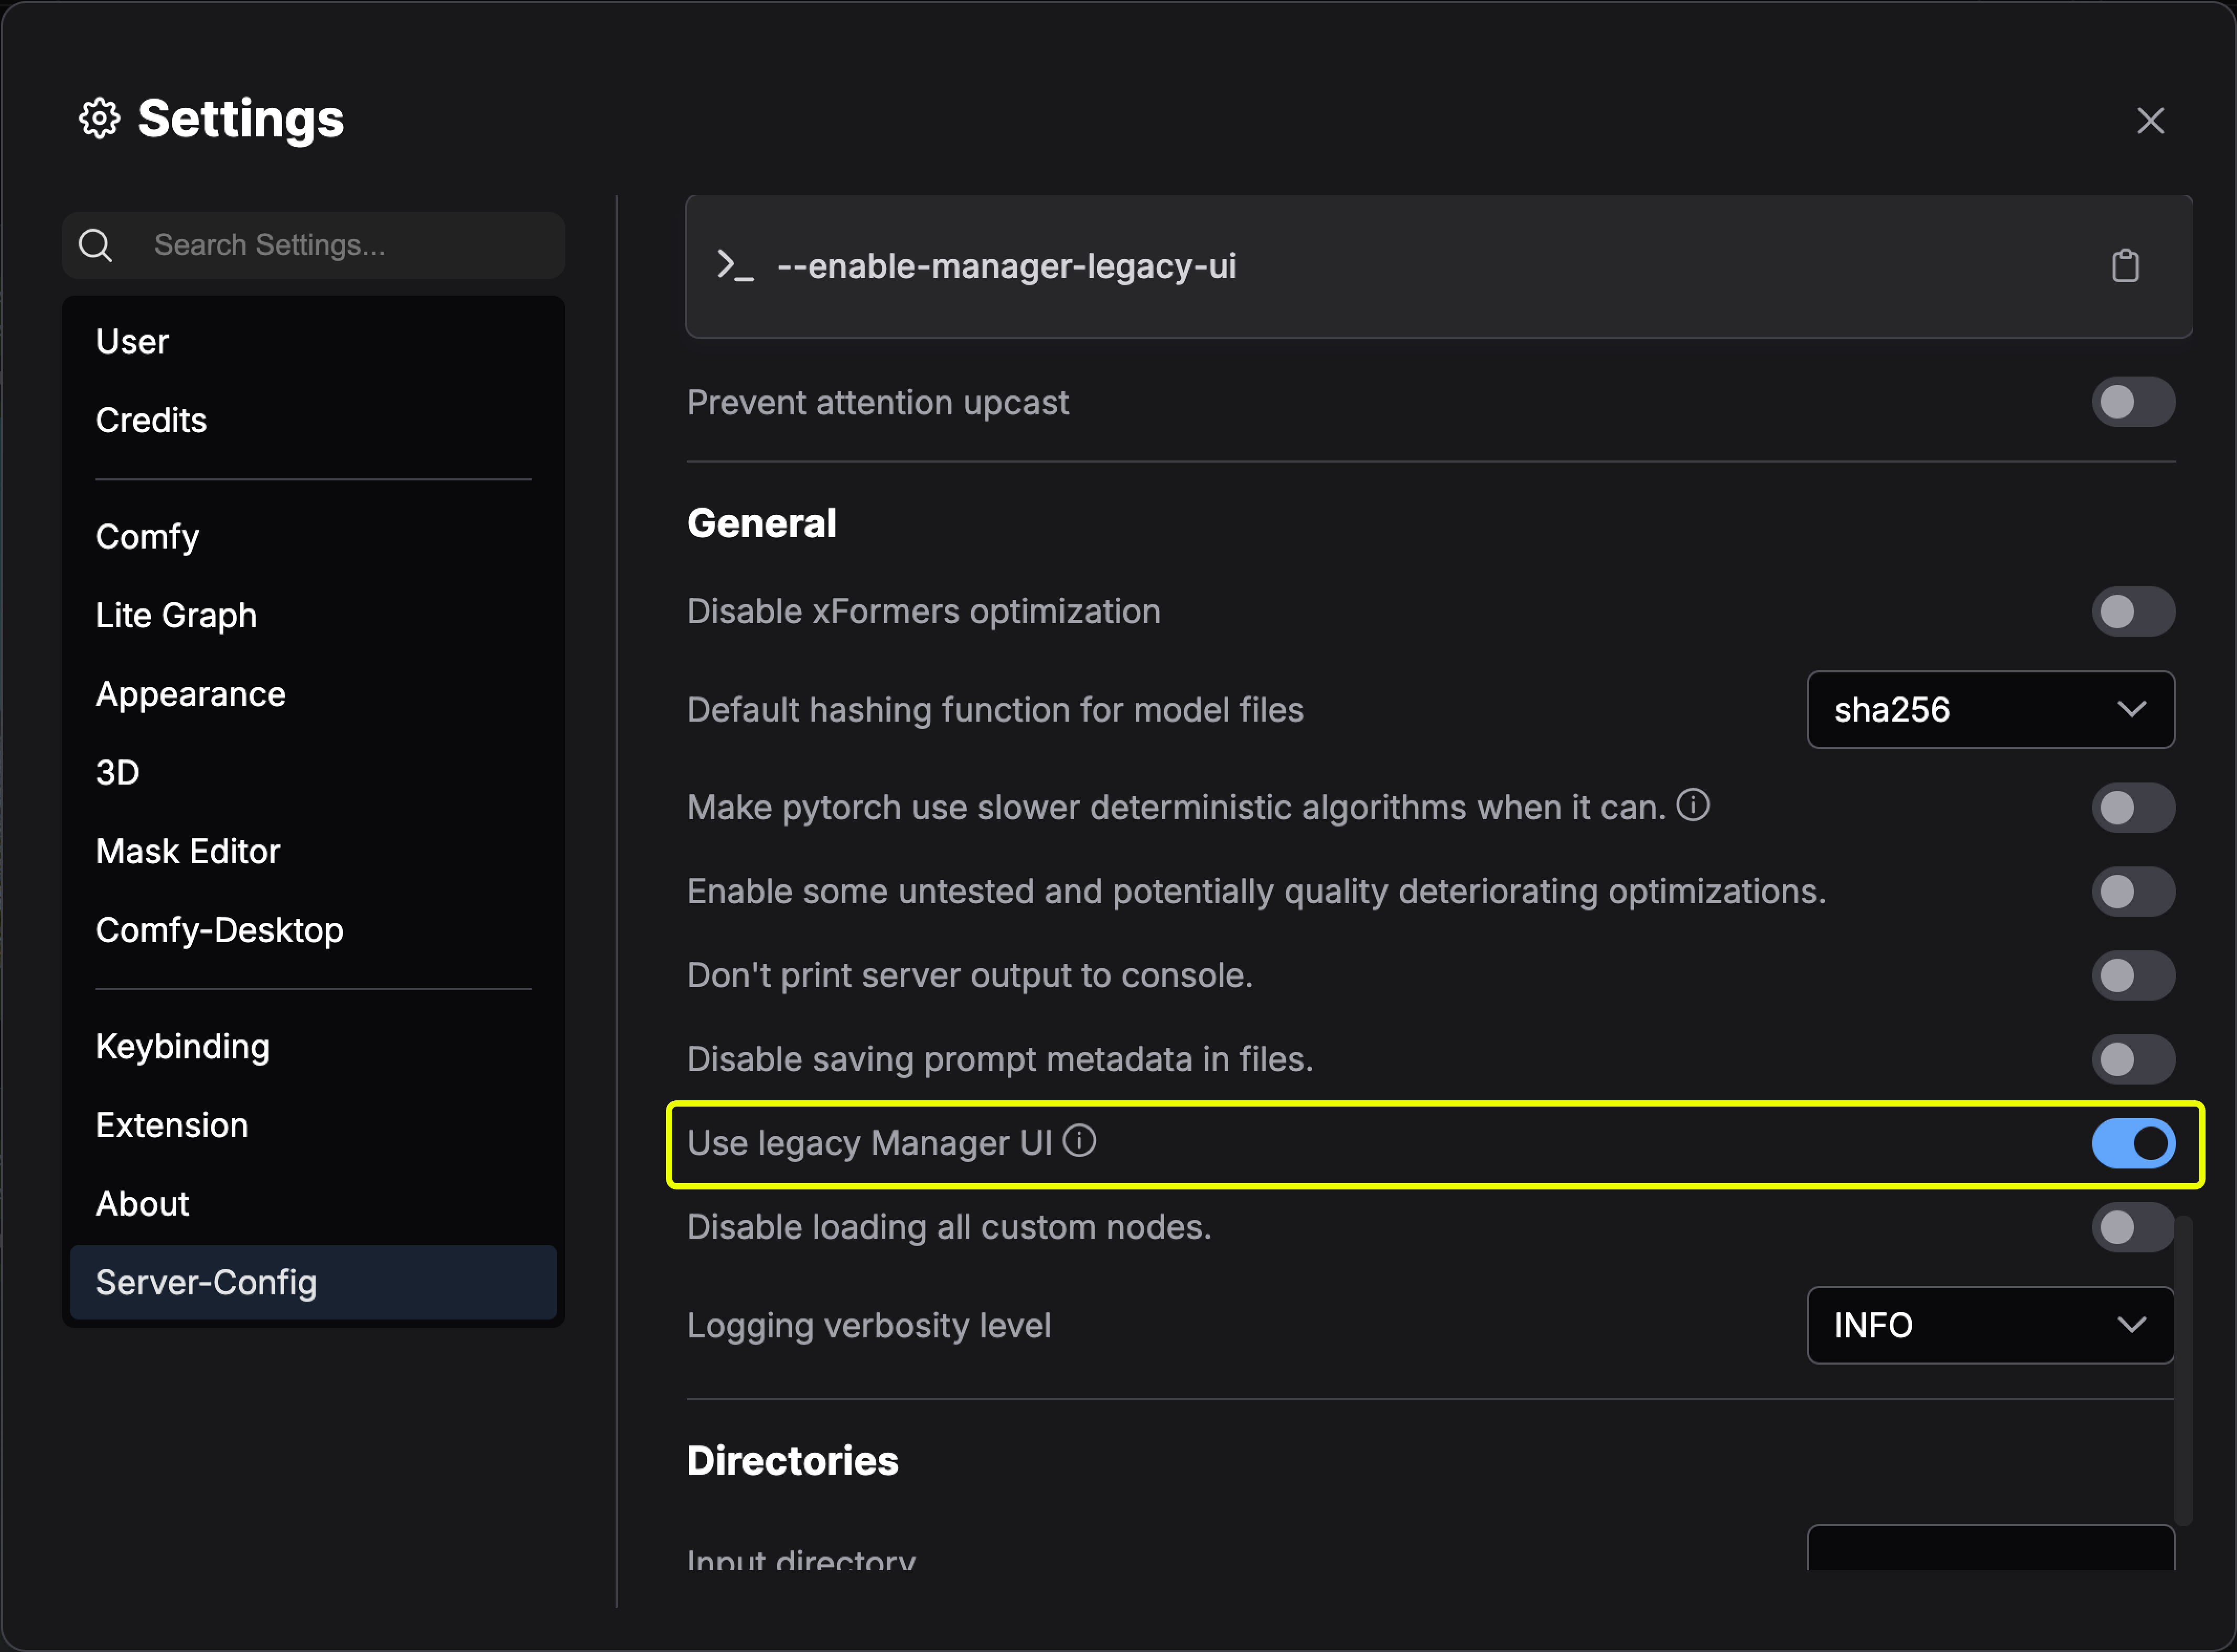
Switch between new and legacy UI
The following version updates only support pip installations. Versions installed via custom nodes do not support switching to the new UI.- Non-Desktop users
- Desktop users
To use the new UI:To use the legacy UI:
Updating ComfyUI-Manager
ComfyUI-Manager ships as its own Python package, and ComfyUI core pins the version it works with inmanager_requirements.txt. How you update the Manager depends on how ComfyUI is installed:
- Desktop
- Portable and manual installs
- Git clone
Desktop includes the Manager and keeps it current with Comfy Desktop updates. Update the ComfyUI engine from the Manage panel.
Legacy installation methods
Method 1: Git clone (general installation)
Method 1: Git clone (general installation)
To install ComfyUI-Manager in addition to an existing installation of ComfyUI:
- Navigate to
ComfyUI/custom_nodesdirectory in terminal - Clone the repository:
- Install the manager dependencies:
- Restart ComfyUI
Method 2: Portable version (Windows)
Method 2: Portable version (Windows)
- Install Git for Windows (standalone version, select “use windows default console window”)
- Download install-manager-for-portable-version.bat into your
ComfyUI_windows_portabledirectory - Double-click the batch file to install
Method 3: comfy-cli (recommended for new installations)
Method 3: comfy-cli (recommended for new installations)
comfy-cli provides various features to manage ComfyUI from the CLI.Prerequisites: Python 3, GitWindows:Linux/macOS:See also: comfy-cli documentation
Method 4: Linux + venv
Method 4: Linux + venv
Prerequisites: python-is-python3, python3-venv, git
- Download install-comfyui-venv-linux.sh into an empty install directory
- Run:
- Execute ComfyUI with
./run_gpu.shor./run_cpu.sh